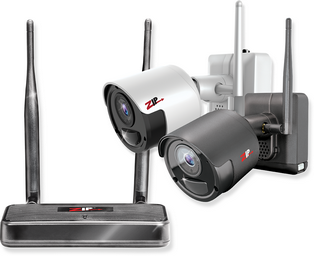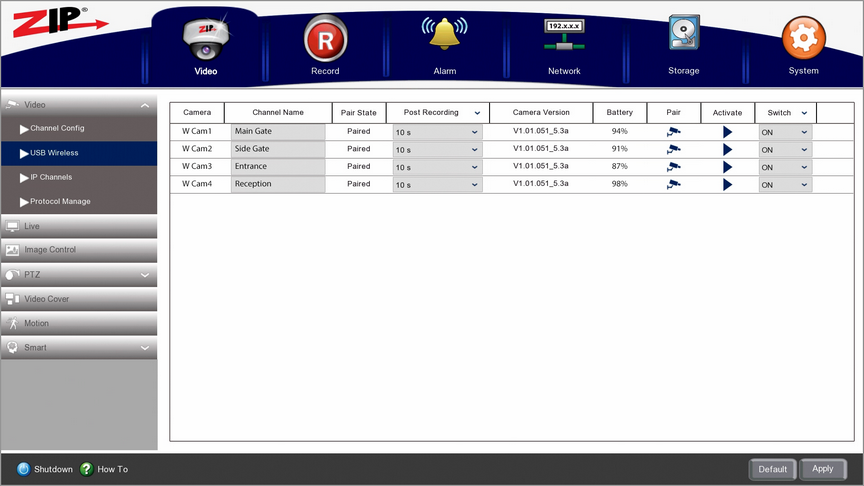
You can manage your Zip Rapid Deploy wireless battery powered cameras in the USB Wireless sub-menu.

Pairing Cameras
Paring the Zip wireless cameras is easy just follow these simple steps.
1.Connect the Zip Rapid Deploy USB wireless receiver to the recorder.
2.Switch up to 4 IP channels to USB Wireless as explained in the Channel Config sub-menu. 1 wireless camera channel will be made available in the USB Wireless sub-menu for each IP channel you have switched to USB Wireless.
3.To pair a Zip wireless camera to one of the wireless camera channels, press the pairing button on the back of the camera and then press then pair icon (blue camera) on the channel you want to assign the camera to.
4.A pairing timer will begin to countdown. Once the camera and receiver have found each other and successfully paired the timer will disappear. The Pair State for the selected wireless camera channel should now read Paired to show that the wireless camera is successfully connected to the recorder.
Channel Name
To make identifying cameras easier you can assign a channel name to each wireless camera, for example: Main Gate. to do this just click inside the grey Channel Name field and virtual keyboard will be displayed. Once you have entered the a camera name click Apply to save your changes.
Pair State
The Pair State column shows if the allocated wireless channel has a camera paired to it or not. If if a camera has been paired to the channel it will display "Paired". Likewise if the channel doesn't have a camera paired to it, it will display "Not Paired".
Post Recording
The Post Recording time determines how long the channel records for after the last detected movement. This ensures entire incidents are recorded as the recorder will continuously capture footage as long as there is movement and will continue to record for the set Post Recording time after the movement has ended.
You can select the Post Recording time from the drop-down list. You have 3 options to choose from, 10 seconds, 20 seconds or 30 seconds.
Camera Version
The Camera Version column shows the camera's firmware version.
Battery
This shows the current battery charge level for each camera. You can keep track of how fast a battery's power is being use up and estimate how long a fully charged battery should last.
Pair
The blue camera icon in the Pair column is the pair button used when pairing a camera to a USB wireless channel as explained above.
Activate
You can manually activate a camera rather than waiting for a motion trigger by clicking the blue Play button the the Activate column.
Switch
You can enable and disable cameras using the drop-down list in the Switch column. When a camera is set to On it will activate when motion is detected. You can set a camera to Off if it isn't required for a period of time and it will not activate or record therefore conserving battery life.
Defaulting Settings
You can restore settings back to their default value by clicking the Default button.
Saving Changes
Once you have configured your cameras click Apply to save your new settings.